Portrait Practice
February 8, 2022

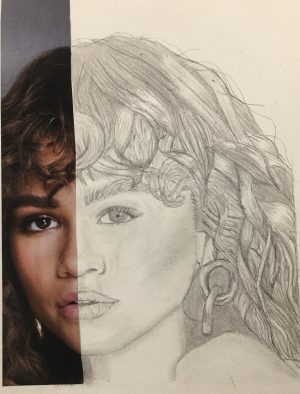
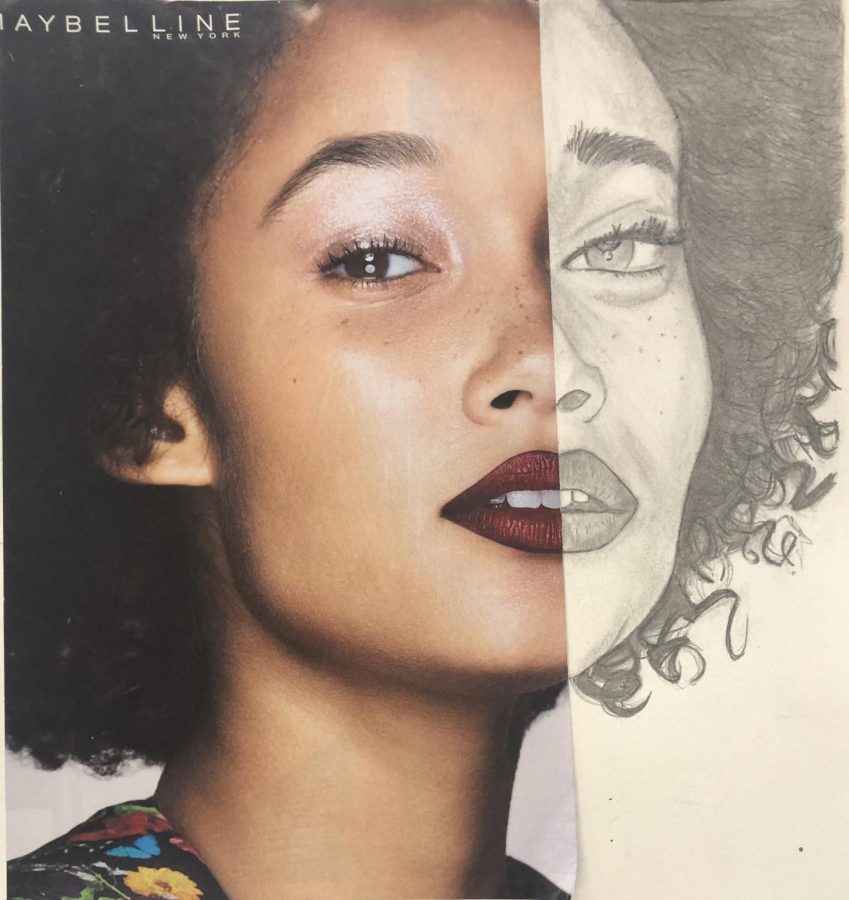
Never thought you could draw? Here’s a way to practice realistic portraiture that somehow always works! This is the most recent project we finished in Ms. Anderson’s art class was a half-face portrait. We first had to pick an image of a person from a magazine, then cut it in half, depending on where the middle of the face is. One side will be glued to our sketchbook, and the other will be used as a reference. The materials we used for this project are: a ruler, eraser, several types of HB pencils, tortillon, and a value scale we made earlier on in the year. A value scale is a scale that consists of different shades ranging from white to black, with several shades of gray in between. By utilizing the value scale in our project we were able to create shadows, more depth, and three-dimensionality in our art, bringing it to life! For blending we used a tortillon (a cylindrical drawing tool made up of paper), but an alternative to a tortillon would be a napkin. For guidance we marked where certain facial features were to make sure we got our proportions right. One of the most complicated parts in this project (in my opinion) was the hair; we had to pay attention to every single detail, strand, highlight, and shadow. Some hair was straight, some were curly; but by applying the value scale, I was satisfied with the finished product. With this project I was able to enhance my technical skills, develop a better understanding of proportions and perspectives. You can also try out this project as well, since you can find all of the materials at home!

